The pleating for the new shirt is done. Because I always get questions about the pleating process I thought I would spend some time talking about it.
Figuring out the pleats is probably the hardest part of the entire process. The shirt needs to fit a 19″ neck. This style will fall a bit below a normal “shirt” neck, so I am figuring on the actual size being about a 21-22 inches around. I will be constructing the shirt using four panels of fabric: front, back and 2 sleeves. The linen is about 58″ wide. Using a full width for the back and front and 1/2 a width for each sleeve it adds up to 174 inches minus and inch or so for seams.
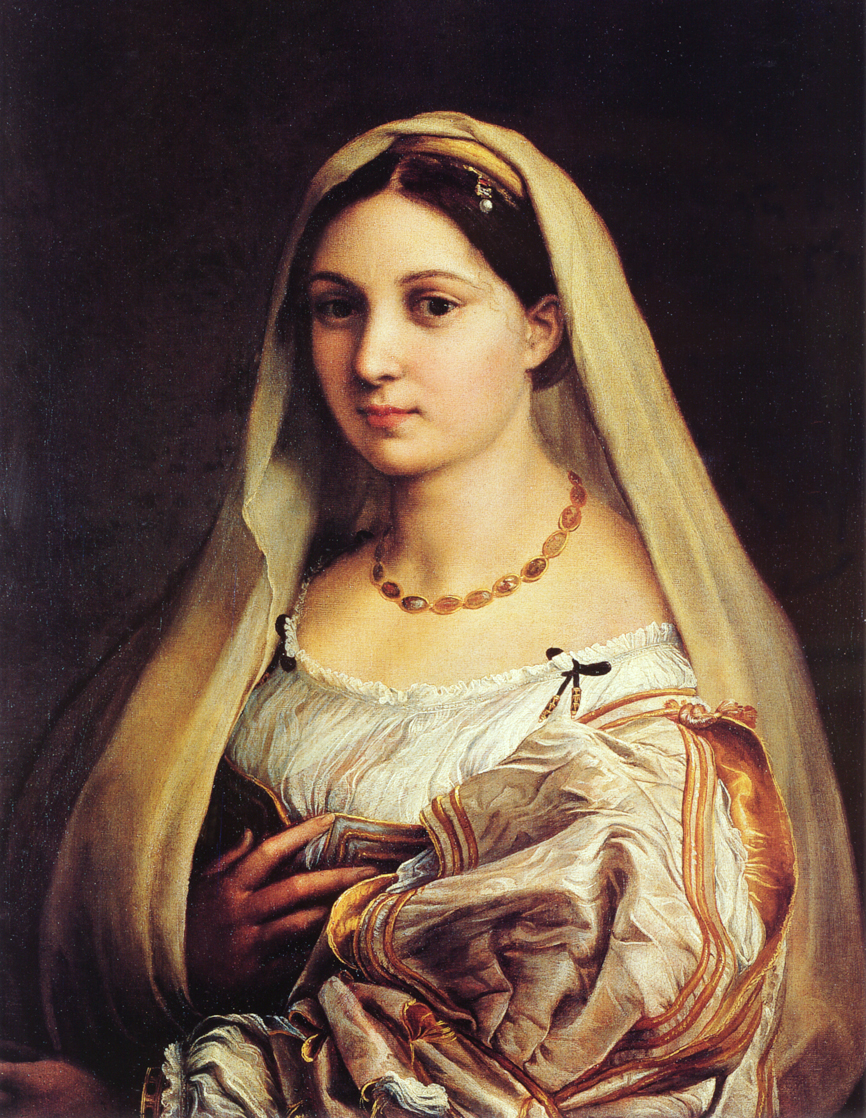
The neckline is not ruffed at the top, so rather than finish the edge, I am folding it over the depth of the proposed embroidery. This will give me a finished edge at the top, and will give more body to the neck. If you look at the inspiration shirt and others similar to it, they look very stiff.
Pleating up the fabric: Pleating is easy. It is simply rows of stitches. Each stitch should be approximately the same size and distance apart. Each row should be parallel to the previous row. They do not have to be perfect! If there are slight variations in the size the actual embroidery will even them out. They do not have to be perfectly lined up either. That being said if they are too far out of alignment the pleat will twist. See examples of the gathering rows in the images below.
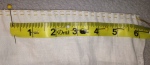
Test samples: I did about 3 test samples before I even touched the actual shirt. I finally settled on a pleat size of about 1/8 in. The test sample that I liked ended up being about 6 inches of fabric to make 1 inch of pleated fabric.
The ungathered test piece

gathered up
Round one: 172 inches on a 6:1 ration puts the neckline at 28″. Way too wide. I pleated two rows to double check ( I was optimistic it would work). Nope… too big ( time spent 4 hrs)
Round two: Since I had to reduce the neckline by 4-6 inches, it meant I needed to reduce the amount of fabric, or increase the size of the pleats. I didn’t want the neck too thick, so decided to leave the size the same, and reduce the amount of fabric. I had two choices I could trim a few inches from both the sleeves and the body, or I could rethink the design.
My first pleatwork shirt, from a later period, did not pleat in the sleeves. By following the same design, it would solve all the size problems. But, after studying the portrait I felt that this was the wrong approach. So I reduced the amount of fabric from each side, then again ran two rows of gathering threads around the entire neckline . The neckline was now going to be the right size, but the shirt no longer had the volume of fabric that I wanted or that the portrait indicated. Back to the drawing board ( time spent – 4 to 5 hours).
Round Three: I went back to the original sized panels for the shirt and decided that I would make the pleats a big bigger. I know from doing other pattern-darned projects that I could also tighten up the pleats more than I did in the sample. Keeping my fingers crossed.

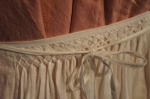
Showing the gathering threads
A couple hours later, I pull up the gathering threads to check the size. I love how the natural curve of the neck is starting to form. The neckline is still too big, but I am going to run with it and see what happens. At the worst I can fudge the size somewhat later.

Neckline is curving
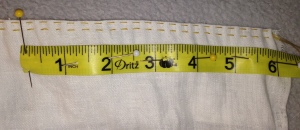
Completed pleating: I ran a total of 8 rows of gathering threads, placed about 1/4″ apart. I recommend that you pleat up at least one row more than you need in order to give yourself a good foundation for the embroidery.

Neckline is pleated.
Final Notes: I am often asked about using pleaters, or dots for doing the pleating. Pleaters are great tools. I have one, I have used it. They produce perfectly even pleats. However, they can be challenging to use, they are expensive, and you can’t adjust the depth of the pleats.
Another method is to iron on dots or use a ruler to “dot” the fabric. You then “pick up” the dots. This also produces even / regular pleats and if you are using a ruler you can adjust the depth of your pleat. I am not a fan of the dots because it is time consuming to mark out the fabric and you are also only running the gathering thread through the top portion of the pleat. This lets the pleats fan out at the back and I find them much less stable to embroider.


